
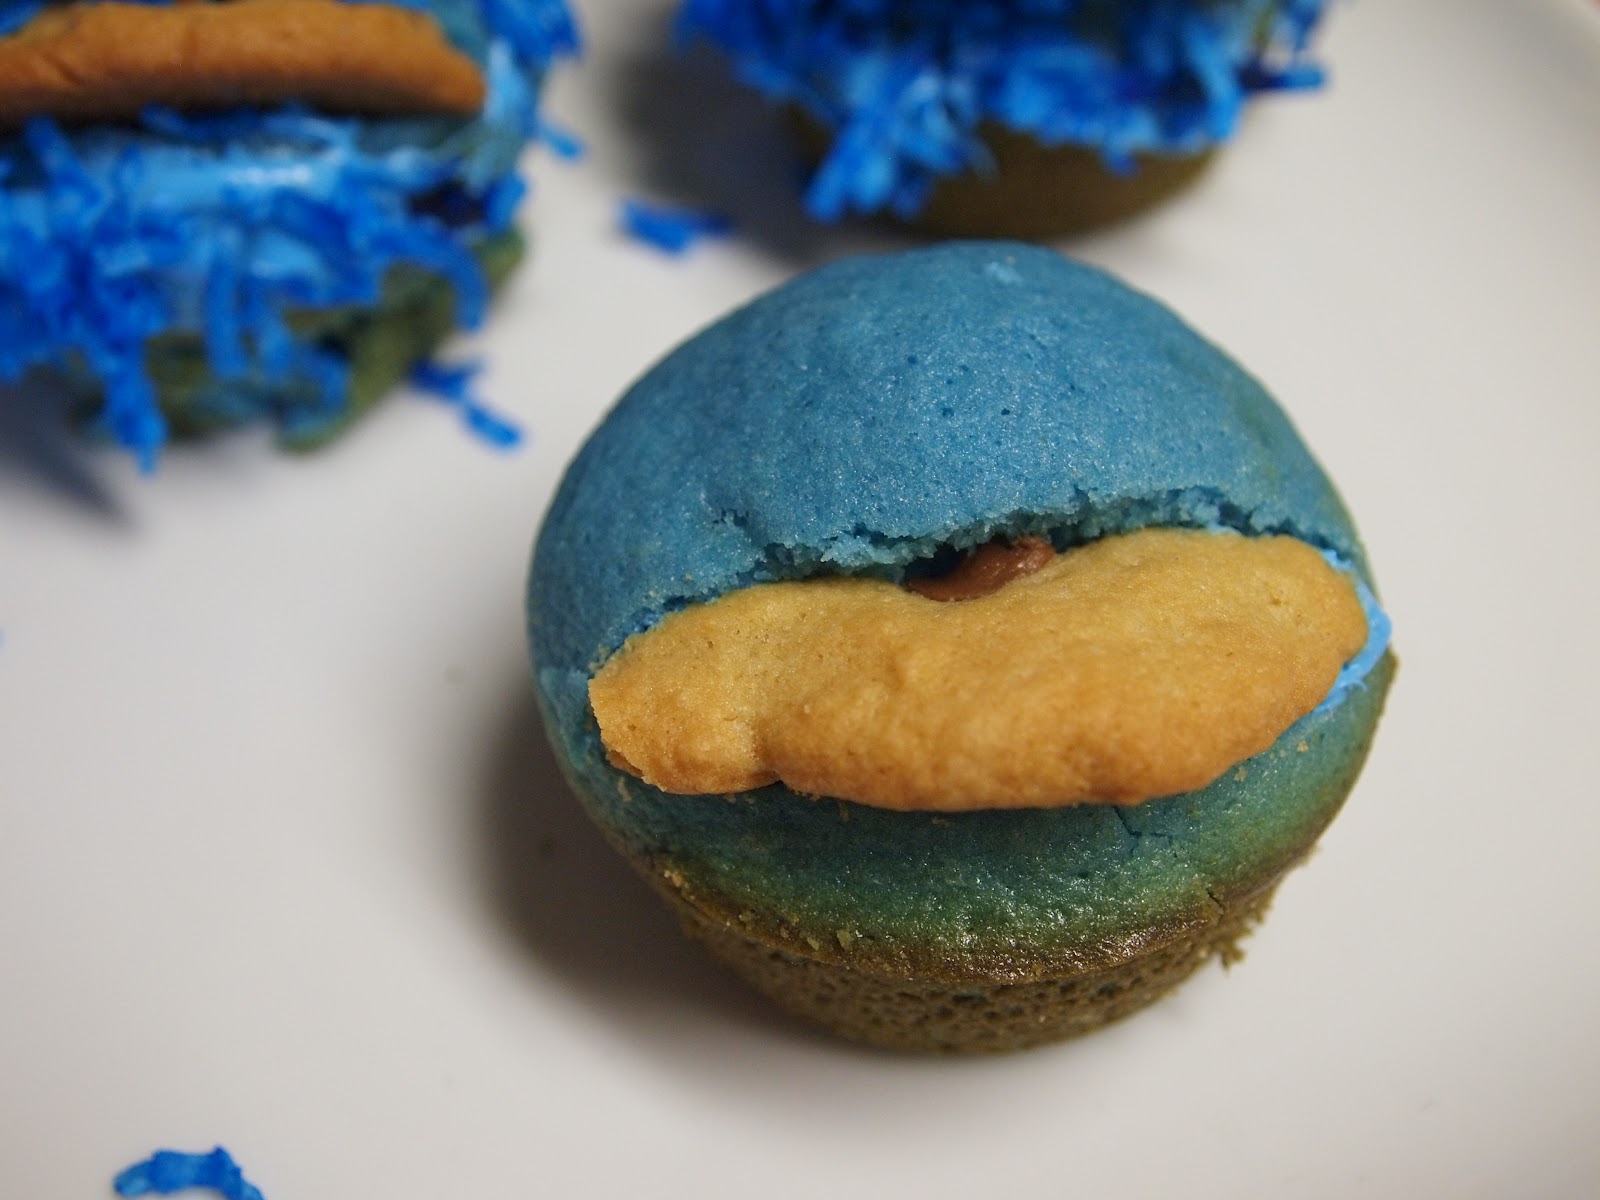
I was invited to a 3 year olds birthday party this week. I wanted to bring a treat for the kids that would be something fun and something they hadn't seen before. I had seen these Cookie Monster Cupcakes online before and always thought they were super cute.
I decided to go the extra step and make homemade cookies as well. (the cookie monster is supposed to look like he is eating the cookie - not everyone got that one, haha). I used the recipe from my last cookies but used chocolate chips instead of the Nutella, bacon and pecans. The trick is to make the cookies really small and flat so they fit in the mouth (I had to cut them off).
1. I used a simple vanilla cupcake recipe and added blue food colouring at the end. You need to get the blue food colouring gel from a baking shop (or Michaels).

3. Then I frosted it with blue frosting (used store bought cream cheese frosting and added the blue food colouring gel)

4. I then took blue coconut (dyed blue with the gel also) and sprinkled it all over.
5. Then for the eyes... I wanted to use the big white choc chips but we couldn't find them nearby. So I just used the white icing and tried to make an eye. I don't like how they turned out but better than nothing. Then I used a chocolate chip for the middle of the eye. Cookie Monster usually has googly eyes, so try to make them looking googly. (is that a word??).

Vanilla Cupcake Recipe:
- 2 cups flour
- 1 cup sugar
- 2 teaspoons baking powder
- 1/2 teaspoon salt
- 1/2 cup butter, softened
- 1/2 cup milk
- 2 eggs
- 1 teaspoon vanilla
- In large bowl, whisk together flour, sugar, baking powder and salt. Using electric mixer on low speed, mix in butter, milk, eggs and vanilla; beat on high speed until smooth, about 2 minutes.
- Spoon into 12 paper-lined or greased muffin cups, filling about three-quarters full. Bake in centre of 375°F (190°C) oven until cake tester inserted in centre comes out clean, about 18 minutes. Transfer to rack; let cool completely. (Make-ahead: Store in airtight container for up to 1 day or freeze for up to 2 weeks.) Variation: Chocolate Cupcakes - Reduce flour to 1 cup and baking powder to 1/2 tsp. Add 1/2 cup cocoa powder and 1 tsp baking soda to dry ingredients. Sift before adding butter and wet ingredients.
Here is a link to one with better eyes and frosting as fur... http://completedeelite.blogspot.ca/2009/03/who-stole-cookies-from-cookie-rack-who.html


